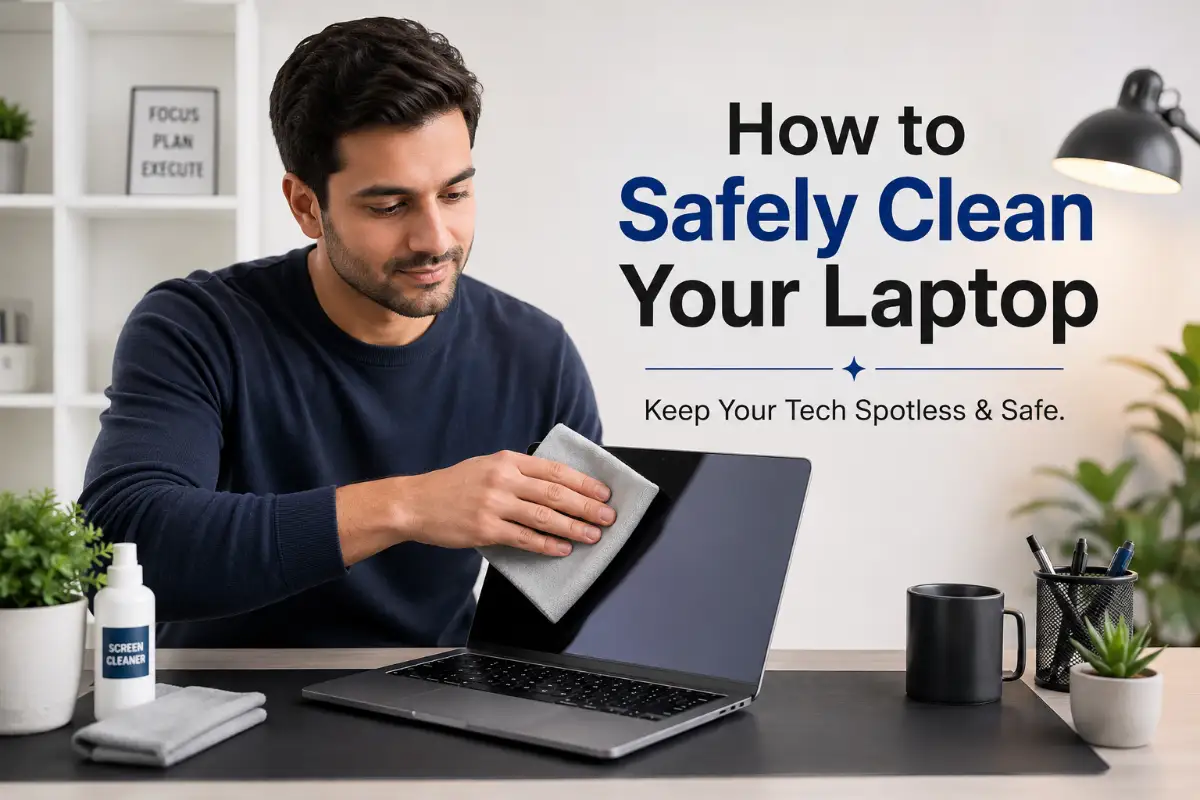
The Hidden Nightmare Lurking on Your Laptop
Have you ever opened your laptop to start your workday, only to be greeted by a screen covered in greasy fingerprints and a keyboard filled with mysterious crumbs? It happens to the best of us. You try to wipe the screen with your sleeve, but it only creates a massive, blurry smudge.
I still remember the sheer panic I felt last year when my spacebar completely jammed right in the middle of a major project. I had been happily munching on cookies while typing for months, and my poor laptop finally gave up on me. I ended up spending way too much money to get the keyboard replaced, all because I just didn't know how to keep it clean. That expensive lesson forced me to figure out how to properly care for my tech without ruining it.
Then, you press the spacebar, and it gives an unsettling crunch. This daily frustration is more common than you think. We spend hours typing, watching, and working, turning our expensive devices into magnets for dirt, oil, and dust.
Despite this universal annoyance, many people struggle to find a safe solution. They end up making things much worse due to widespread bad advice. Here is why so many users fail to clean their laptops properly:
a-Trusting harsh household cleaners: Many people grab window cleaners, unaware that the harsh chemicals strip away the delicate anti-glare coating on modern screens.
b-Using the wrong materials: Reaching for rough paper towels or tissue paper feels normal, but these materials leave microscopic scratches on the display.
c-Applying too much liquid: Spraying water directly onto the screen allows moisture to seep under the bezels, completely frying internal hardware.
d-Ignoring the keyboard debris: Shaking the laptop violently to remove crumbs can actually damage the internal cooling fans and hard drives.
Living with a dirty device takes a surprising toll on your daily life. It might sound silly, but a messy workspace directly impacts how you feel. Here is how ignoring this problem slowly ruins your peace of mind:
a-Constant visual distraction: Looking past streaks and spots drains your focus, making it much harder to concentrate on important tasks.
b-Professional embarrassment: Opening a grimy, dust-covered laptop during a meeting or coffee shop visit can make you feel unorganized and self-conscious.
c-Fear of expensive repairs: Every time a key sticks or feels unresponsive, you feel a spike of anxiety about potential repair bills.
d-Hygiene concerns: Knowing your keyboard harbors more germs than a public restroom creates a lingering sense of discomfort while working.
The Science of Safe Tech Maintenance: Doing It Right
If you are more of a visual learner, I highly recommend watching this quick video below to see exactly how these safe cleaning techniques look in action. Check it out, and then keep reading to discover the hidden mistakes that can instantly ruin your expensive machine!
If you are tired of dealing with sticky keys and blurry screens, you are in the right place. I am going to walk you through the exact methods the professionals use to keep expensive gear looking brand new.
You do not need an engineering degree to maintain your electronics. You just need a little bit of patience and the right tools. Let’s break down the safest methods to restore your device to its original glory.
Phase 1: Preparing Your Device for a Safe Wash
Before we even think about grabbing a cloth or a brush, we need to talk about safety. Electronics and liquids have a terrible relationship. Mixing them carelessly is a guaranteed way to ruin your day.
Always power down your laptop completely. Do not just put it to sleep or close the lid. Shut down the operating system entirely.
Why is this so important? When a device is powered on, electricity is actively flowing through the circuits behind the screen and under the keyboard. If a tiny droplet of moisture manages to sneak into a gap, it can bridge two electrical points. This creates a short circuit.
A short circuit can instantly kill your motherboard. By turning the device off completely, you remove the active electrical current, dramatically lowering the risk of accidental damage.
Next, unplug the charger and remove all accessories. Take out your USB drives, your wireless mouse dongles, and your headphones.
You want clear, unobstructed access to every edge of the machine. Plus, you do not want to accidentally snap a flash drive in half while shifting the laptop around.
Pro Tip: The Cool Down Rule
Never clean a laptop that is hot to the touch. If you just finished an intense gaming session or exported a massive video file, let the device cool down for at least 15 minutes. Cleaning a hot screen can cause liquids to evaporate too quickly, leaving stubborn, cloudy streaks behind.
Phase 2: Mastering the Art of Screen Cleaning
The display is easily the most delicate part of your entire computer. Modern laptop screens are made with ultra-thin layers of liquid crystals, covered by specialized plastic or glass, and coated with anti-reflective materials.
Because of this complex engineering, you must treat your screen like a fragile piece of artwork. The first rule of screen cleaning is simple: throw away the paper towels.
Wood-based products like paper towels, napkins, and toilet paper contain tiny, rough fibers. When you rub them against your screen, it is exactly like rubbing fine sandpaper over glass. You might not see the scratches today, but over time, your screen will look permanently hazy and dull.
Instead, you need a high-quality microfiber cloth. Microfiber is made of synthetic materials blended into microscopic loops. These tiny loops act like thousands of little hooks, grabbing dust and oil lifting them away from the surface rather than just pushing them around.
Here is the exact scientific process to clean that display safely:
Step A: The Dry Sweep
Start with a completely dry microfiber cloth. Gently wipe the screen from left to right, starting at the top and working your way down. Do not press hard.
Let the microscopic fibers do the heavy lifting. This initial dry sweep removes loose dust particles so you do not accidentally grind them into the screen later.
Step B: The Moisture Method
If you still have stubborn fingerprint oils or sneeze droplets on the screen, it is time for a tiny bit of moisture. Never, ever spray liquid directly onto the screen.
Gravity is your worst enemy here. If you spray the screen, the liquid will quickly drip down the glass and pool at the bottom bezel. Once it sneaks behind that plastic frame, it reaches the delicate display cables and destroys them.
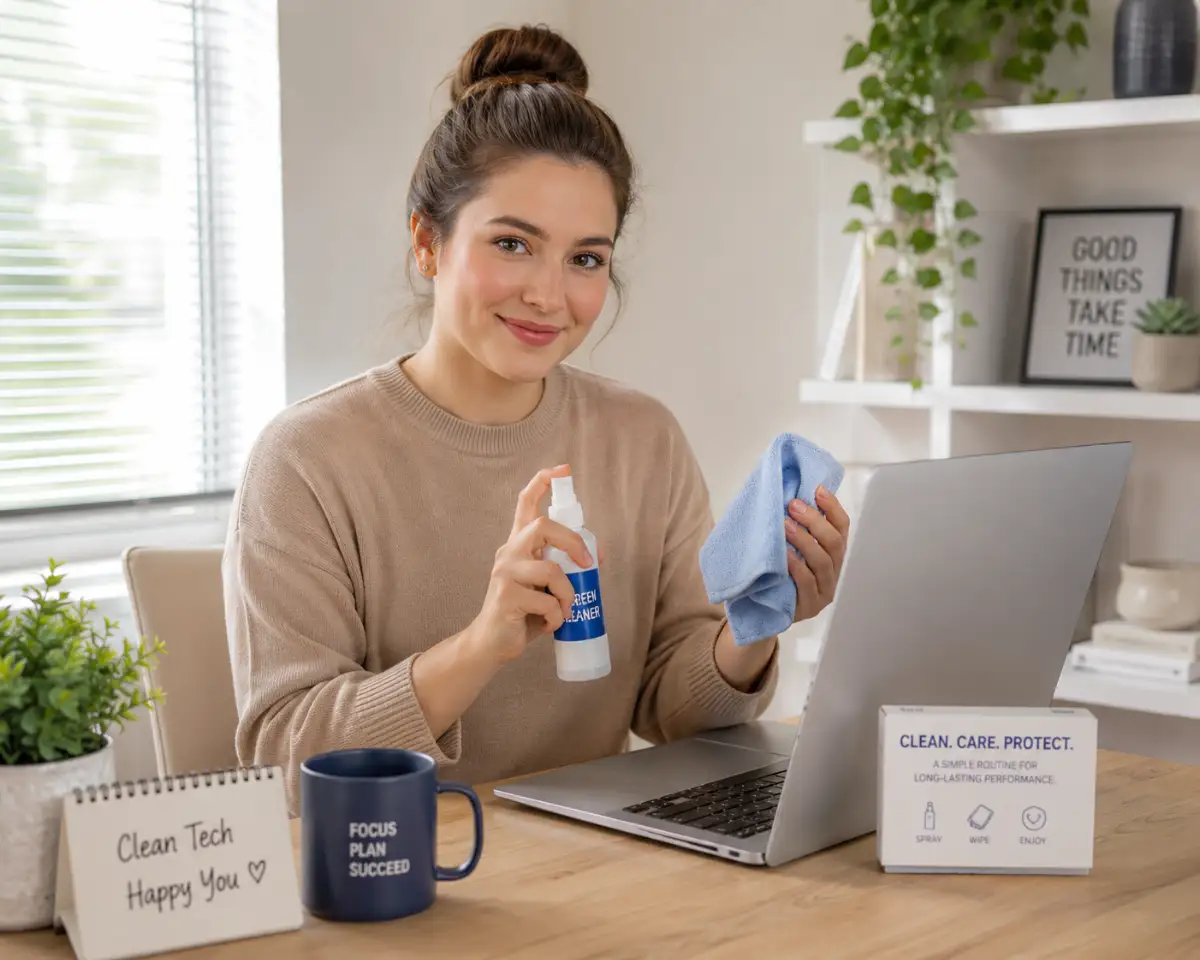
Instead, spray your microfiber cloth with a small amount of distilled water. You want the cloth to be slightly damp, not soaking wet.
Why distilled water? Tap water contains hidden minerals like calcium and magnesium. When tap water dries, those minerals are left behind, creating white streaks and hard water spots. Distilled water is completely pure, ensuring a flawless, streak-free finish.
Myth vs Reality: Screen Cleaning Products
The Myth The Reality Window cleaners make screens shine. Ammonia and bleach in window cleaners will eat right through your screen's anti-glare coating. Hand sanitizer easily removes sticky spots. The high alcohol content can melt the protective plastic layers of modern displays. Expensive screen sprays work better than water. Most commercial screen sprays are just highly overpriced distilled water mixed with a tiny bit of safe soap.
Phase 3: Rescuing Your Keyboard from Crumbs and Dust
Now that your screen is crystal clear, we need to tackle the most abused part of your computer: the keyboard. Think about everything your keyboard endures. We eat sandwiches over it, we sneeze near it, and our pets shed hair right next to it.
The space beneath your keys is a graveyard for daily life. Cleaning it safely requires a specific approach because the mechanisms underneath the keys are incredibly fragile.
If you just jam a cloth over the keys, you risk snapping the tiny plastic clips that hold the keycaps in place. Once those clips break, you often have to replace the entire keyboard deck.
Step A: The Gentle Shake
With the laptop still powered off and unplugged, open it up. Carefully turn the entire laptop upside down over a trash can or a towel.
Give it a few very gentle taps on the bottom. Do not slap it hard. Just gently rock it back and forth. You will be amazed and slightly disgusted by how many loose crumbs and hairs fall out instantly.
Step B: The Soft Brush Technique
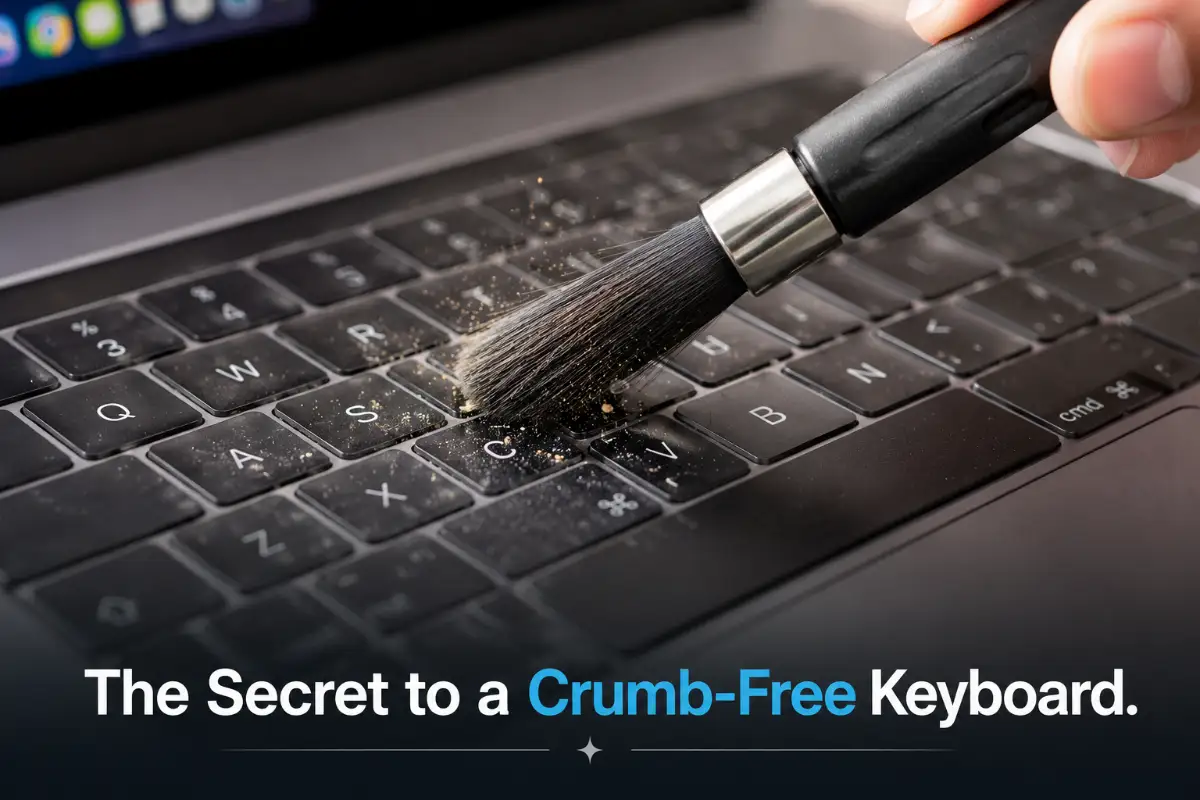
Now, place the laptop back on your desk. Grab a clean, soft-bristled makeup brush or a dedicated electronics detailing brush.
Gently sweep between the keys. Imagine you are an archaeologist sweeping dirt off a delicate fossil. The goal is to dislodge the dust bunnies that are stubbornly clinging to the sides of the keycaps. Sweep the debris outward, toward the edges of the laptop.
Step C: Mastering Compressed Air
For the deep-seated dust hiding underneath the keys, compressed air is your best friend. However, most people use compressed air completely wrong, which can cause severe damage.
When you buy a can of compressed air, it contains a chemical propellant that turns into a freezing cold liquid under pressure. If you tilt the can upside down or shake it vigorously, that freezing liquid will shoot out instead of air.
If this sub-zero liquid hits your keyboard, it can instantly freeze and shatter the delicate plastic components. It can also cause condensation to form inside the laptop, leading to water damage.
Here is the proper way to use it: Keep the can perfectly upright. Hold the nozzle about two inches away from the keys. Use short, quick bursts of air.
Do not hold the trigger down for a long time, as the can will get extremely cold and lose pressure. Spray in a zigzag pattern, moving from one side of the keyboard to the other, blowing the hidden dust out from under the keys.
By taking your time with these techniques, you ensure that your device stays clean without risking a single broken component. You are protecting your investment and making your daily work experience significantly more enjoyable.
Taking It to the Next Level: Deep Cleaning Like an Expert
Once you master the basic sweep and wipe, you will inevitably run into tougher messes. Dust is one thing, but what happens when you deal with sticky residue or lingering germs? This is where standard wiping simply does not cut it.
You need advanced techniques to handle stubborn grime without risking your expensive hardware. Think of this like detailing a car. You have already washed the outside, but now we need to clean the dashboard and condition the seats.
A major issue many of us face is the dreaded "sticky key." This usually happens when you eat fruit or sugary snacks while working. You might not even spill anything directly on the board.
Simply transferring invisible sugar from your fingertips to the keycaps is enough. Over time, this microscopic sugar builds up, creating a gummy paste under the plastic. When you press the spacebar, it feels sluggish and refuses to pop back up quickly.
The Magic of Isopropyl Alcohol and Cotton Swabs
To tackle sticky keys safely, you need two items: 70% isopropyl alcohol and a high-quality cotton swab. Do not use standard rubbing alcohol that contains a high percentage of water, and stay away from 99% alcohol because it evaporates too fast to break down heavy grime.
The 70% mixture is the sweet spot. It contains just enough water to dissolve sticky sugar, but enough alcohol to evaporate quickly without causing rust.
I used to think regular tap water on a tissue paper was enough to fix a sticky key, but that exact mistake actually short-circuited one of my older laptops. When I finally switched to using a slightly damp cotton swab with 70% alcohol, it felt like absolute magic. Just take your time with it, and you will see how easily the sticky grime melts away without putting your hardware at risk.
Here is the exact method for sticky keys:
First, dip the cotton swab into the alcohol. Before touching your computer, press the swab against the inside of the bottle cap to squeeze out the excess liquid. The swab should be barely damp, never dripping wet.
Carefully trace the damp swab around the edges of the sticky key. The goal is to let a tiny fraction of the alcohol seep down the sides to dissolve the sugar. Press the key repeatedly to work the liquid into the sticky mechanism, then immediately dry the area with your microfiber cloth.
Understanding the "Shiny Keyboard" Phenomenon
Have you ever noticed how the most used keys on your laptop—like the spacebar and the vowels—become shiny over time? Many people think this shine is just dirt that can be scrubbed away. Unfortunately, that is not entirely true.
That permanent shine is caused by a combination of friction and natural human body oils. As you type, the oils from your fingers slowly polish the textured plastic on the keys. Interestingly, understanding your body's natural oil production can explain why some people wear down their keyboards much faster than others.
If you naturally have oilier hands, your keyboard will become shiny much quicker. To slow down this process, keep a small microfiber cloth on your desk. Give your keyboard a quick, dry wipe every single evening when you finish working.
Why Pristine Screens Matter for Creative Work
If you use your device for graphic design, video editing, or even casual photo viewing, a clean display is absolutely non-negotiable. Even a light layer of dust drastically changes how your screen displays contrast and brightness.
A greasy fingerprint right in the middle of your workspace can distort colors, making bright reds look dull and dark shadows look muddy. This is especially problematic if you use advanced design tools or generate digital art, where color accuracy dictates the quality of your final product.
By maintaining a spotless display, you ensure that the colors you see are the exact colors your audience will experience. You are protecting your creative vision just by keeping a microfiber cloth handy.
Tech Tragedies: Avoid These Expensive Maintenance Disasters
Knowing what to do is only half the battle. Knowing what not to do is what actually saves your machine from an early grave. Most ruined laptops are not destroyed by accident; they are destroyed by users with good intentions and terrible methods.
Let’s look at the absolute worst things you can do to your device. These are the silent killers of expensive technology. If you avoid these pitfalls, your machine will easily outlast its expected lifespan.
The Household Vacuum Cleaner Catastrophe
When people see a keyboard full of pet hair and crumbs, their first instinct is to grab the vacuum cleaner hose. Never let a standard household vacuum touch the inside of your laptop. This is one of the most dangerous mistakes you can make.
Standard vacuum cleaners generate a massive amount of static electricity as dust and debris rush through the plastic hose. This static charge builds up silently at the plastic nozzle.
If that charged nozzle touches your keyboard or gets too close to the internal motherboard vents, it will discharge a localized shock. This electrostatic discharge (ESD) can instantly fry sensitive microchips, completely killing your computer without a single drop of water. If you must vacuum, only use a specialized, anti-static computer vacuum designed specifically for delicate electronics.
The Dangers of "Disinfectant Wipes"
During cold and flu season, we all want to sanitize our workspaces. Grabbing a kitchen disinfectant wipe seems like a smart way to kill germs on your keyboard and screen. However, those wipes are soaked in harsh industrial chemicals.
Products containing bleach, ammonia, or hydrogen peroxide are far too aggressive for consumer electronics. If you use them on your display, they will literally eat away the anti-reflective coating, leaving permanent, ugly chemical burns across the glass.
If you use them on your keyboard, the harsh chemicals will slowly dissolve the painted letters on your keycaps. Within a few months, you will have a keyboard full of blank, unreadable plastic squares. Stick to the lightly damp microfiber cloth and 70% isopropyl alcohol technique for safe sanitization.
The "Stuffed Backpack" Screen Crush
This mistake happens when your laptop is turned off and safely tucked away. Many people clean their screens perfectly, only to open their laptop the next day and find permanent keyboard marks stamped into the display glass.
This happens when you put your laptop in a tightly packed bag. Heavy textbooks and chargers press against the back of the laptop lid. This intense pressure forces the delicate screen to bend inward and grind directly against the dirty keyboard.
The friction causes permanent scratches that look exactly like the shape of your keys. To prevent this, always leave a thin microfiber cloth sitting flat across your keyboard before you close the lid. It acts as a soft protective barrier between the keys and the fragile glass.
Ignoring the Hidden Cooling Vents
While you are busy obsessing over the screen and the keys, do not forget the most hardworking part of your machine: the cooling vents. These small slits on the bottom or sides of your laptop breathe in fresh air to keep the processor from melting.
Over time, these vents suck in pet hair, dust bunnies, and dead skin cells, creating a thick felt-like blockage. When the vents get blocked, your computer starts to overheat rapidly. The fans spin louder, the metal gets hot to the touch, and the system slows down to prevent a fire.
Unexpected hardware failures due to overheating can completely wreck your financial plans. Replacing a burned-out motherboard is incredibly expensive, which is why preventive maintenance is just as important as managing your personal budget safely. Take your compressed air can and gently blow out those side vents once a month to keep the machine breathing easily.
Your New Stress-Free Tech Maintenance Routine
You now possess the exact knowledge required to keep your devices looking and performing like they just came out of the box. You understand the hidden dangers of harsh chemicals, the physics of static electricity, and the correct way to handle delicate hardware.
The secret to long-lasting electronics is not a yearly deep clean. The real secret is consistency through micro-habits. You do not need to spend an hour every weekend scrubbing your setup.
Instead, build a simple, two-minute routine into your daily workflow. Keep a clean microfiber cloth in your desk drawer. Make it a habit to quickly wipe down the screen and sweep the keys before you shut down for the evening.
A Quick Action Plan for Tomorrow Morning
When you sit down at your desk tomorrow, take exactly five minutes before you start working. Power down the machine, grab your dry cloth, and give everything a gentle sweep.
Look closely at your keyboard under a bright light. If you spot hidden debris, grab your soft brush and gently coax it out. Proper, gentle electronics care is a small investment of time that pays massive dividends in device longevity.
A clean workspace does more than just protect your hardware. It clears your mind, boosts your daily productivity, and makes sitting down to work feel like a premium experience.
Take pride in your tools. Treat your equipment with respect, avoid the common pitfalls we discussed, and your laptop will serve you faithfully for years to come.
Looking back, taking just a couple of minutes to wipe down my screen and sweep my keyboard has totally changed my daily work life. I never have to worry about weird stains or broken keys right before a big deadline anymore. Trust me, once you start this simple routine today, you will wonder how you ever managed to work on a messy laptop in the first place!
Disclaimer: The information provided in this guide is for educational and informational purposes only. While these methods are widely considered safe for general electronics, device designs vary greatly by manufacturer. Always consult your specific laptop brand's official maintenance manual before applying any liquids, brushes, or cleaning solutions to your hardware. The author and publisher are not responsible for any accidental damage, data loss, or voided warranties resulting from improper cleaning techniques.
*** Thank you for reading patiently***